
How to Change Front Covers in Goodnotes (+ FREE cover download)!
⋆˙⟡♡︎ This post may contain affiliate links. Please see my disclosure policy for details. Thanks for your support ⋆˙⟡♡︎
Hey, digital planner lovers. Did you know that you can change front covers in Goodnotes?
Neither did I until recently, but now I’m totally obsessed with changing my front covers.
It’s a great way to breathe new life into you get bored of the one you have.
It’s also great for all the seasons. You can have a Halloween cover for Spooky Season, a festive one for Christmas etc.
As a travel blogger, I often use my Digital Travel Planners to organise my trips. So, I like to change mine to the country I’m going to!
There are so many options, you can even make your own front covers with apps like Canva (that’s a post for another day).
So, without further ado. Here is how to change your Digital Planner front cover in Goodnotes.

How to change front covers in Goodnotes
Firstly, to use front covers in Goodnotes, we’ll need some digital planner front covers to choose from.
But, where you can you get them?
Well, you can buy them from places like Creative Market or Etsy for very little money.
Or, you can make your own planner front cover in apps like Canva. There are lots of templates to choose from.
Even better is to download some FREE planner front covers that have been made for you.
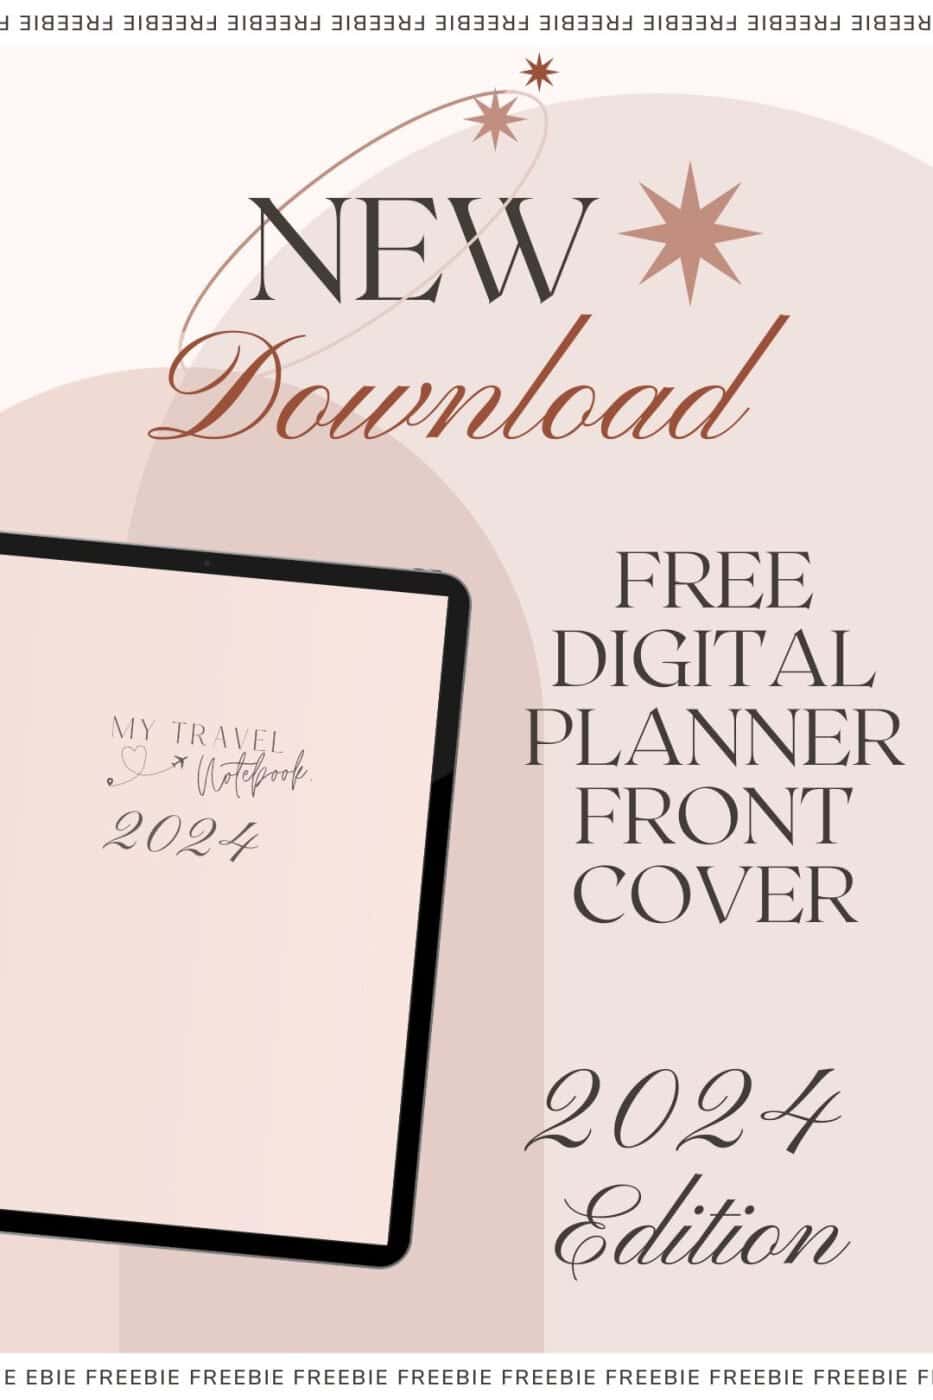
I have a FREE digital planner front cover that you can download in my Travel Resource Library. Simply sign up below to gain access;
Get a free front cover & 10% off in my shop!
When you join our newsletter
How to Import Front Covers to Goodnotes
Once you have your front cover(s) to hand in a PDF format, we need to import this to our Goodnotes App.
- Simply click on the export button in the right-hand corner of your PDF file
- Select ‘Goodnotes’ as your app to import to.
- Once, you’ve done this select ‘Import as a New Document’
- Success! You now have all your front covers in Goodnotes.
How to switch front covers in Goodnotes
Now all that’s left is to switch the front cover of our digital planner.
- Head to your front cover file
- Choose the front cover you would like from the available pages in the PDF
- Head to the three dots or More button and select ‘Copy Page’
- Head to the FIRST PAGE (important) of your digital planner
- Then select ‘More’ again and hit ‘Paste Page’.
- Remember to delete the original front cover from your templates.
- You’ve now changed your planner cover!
Shop My Digital Planners
Did you know that I have a range of chic digital travel planners in my online shop? Check them out below:

The Ultimate Digital Travel Planner
Eliminate the stress of planning your next adventure
$4.99

The Magical Memories Keeper
A chic travel journal to capture your precious travel memories
$3 Introductory offer!

Did you know? If you sign up for my front cover you get 10% off my digital travel planners!
Important things to note
- Make sure to double-check that you’re changing your front cover only on the front page.
- Don’t cover over your planner pages if they contain hyperlinks as this may break them.
- You can change your front covers as many times as you like.
Check out my freebie library for some extra front covers – exclusive for subscribers. I’m always adding new ones!
Join my free workshop: Digital Planning Magic!
Are digital planners right for you?
Take your knowledge of Digital Planning from NO to PRO with my quick and free online course.
This course also includes video tutorials of how to change front covers and more freebies like fun travel digital stickers.
Just click the button below and sign up to enrol for FREE!

Save how to change front covers in Goodnotes for later


